threadWEAR 301
How to Sew a Button in 4 Simple Steps (Pants, Shirts, etc.)

Sewing a button can be scary.
After all, you've already spent so much time and care sewing your garment from scratch. If you mess up now, all your work could be for nothing.
But don't worry. Buttons are actually one of the easiest details you can add to your clothes.
All it takes is 4 simple steps, which we'll walk you through in this article.
We'll also show you some details you need to know if you're sewing pants, button-down shirts, and different types of buttons like 2-hole, 4-hole, or shank buttons.
How to Sew a Button Step-by-Step
Before you attempt to sew a button into your garment, try sewing it into scrap fabric first.
It's best to get some practice in first before attempting to add buttons to your clothes. Buttons are often the last detail you add, so you won't want to ruin anything.
This is also a great test to see if your button is too heavy for the fabric or if you need interfacing.
Step #1: Prepare Materials
To sew a button, you'll need:
- Buttons
- A buttonhole presser foot
- Needle and thread
- Tissue paper or interfacing
- Fabric marker
- Measuring tape
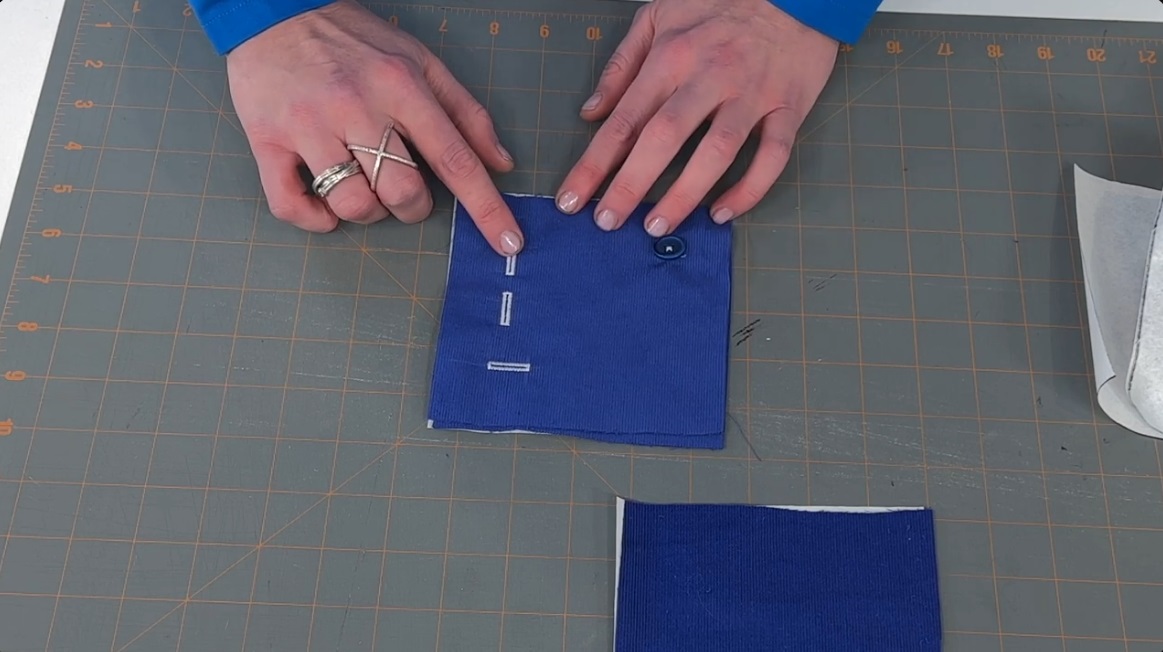
Step #2: Mark Your Fabric
Take your garment and carefully measure and mark where you want your button to go.
Overlap the fabric piece where you want the button to be with the fabric where the hole will be. Then mark both spots, so you'll know exactly where to sew.
If you're sewing a button-down shirt, you'll want to carefully mark where each button should go (we'll show you how to do this below).
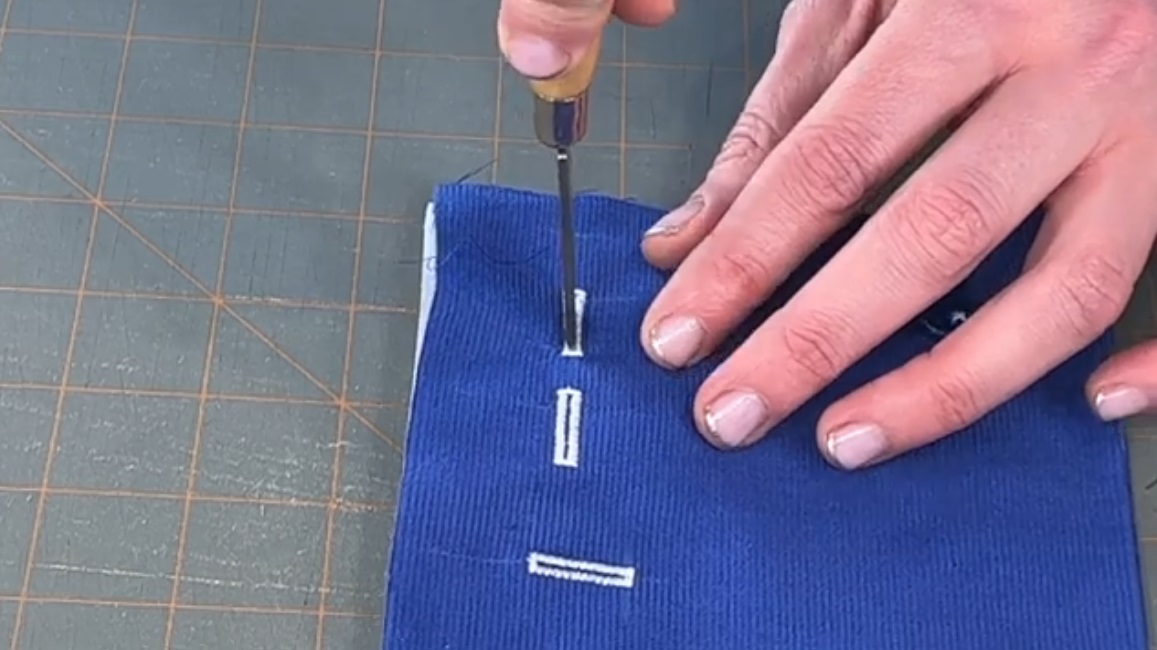
Step #3: Create the Button Holes
To cut the perfect button hole, we recommend using a buttonhole foot for your sewing machine.
First, measure your button's diameter and width.
Once you have that, add a tiny bit of ease to your hole measurement. Just enough so it won't be difficult to slide the button into the hole, but not too much that the button can slide out on its own.
Then, take your sewing machine, insert your buttonhole foot, and sew the button holes into your fabric.
For extra stability, you can also place tissue paper or interfacing underneath the fabric. You can remove these once the button holes are ready, or you can keep them in.
Now, the exact settings you'll use on your sewing machine vary from machine to machine.
To give you an idea of what to look for and how it's done, here's how to do it on a Singer Heavy Duty 4423, which is similar to most sewing machines:
- Take your buttonhole presser foot and insert your button into the holder to adjust the size
- Insert your buttonhole presser foot into your sewing machine
- Pull down the hidden button lever behind the needle threader until it clicks, and push it back for direction changes
- Set your stitch width and length based on your fabric and desired finish
- Align the start of your buttonhole with the gap in the presser foot
- Start sewing! The machine should go up one side and then down the other automatically when it hits the lever.
- When the feed dogs stop pulling, your buttonhole is complete
- Stop sewing and cut the thread
- Always push the lever back again before starting another buttonhole
Once your buttonholes are in place, use a buttonhole cutter or a seam ripper to create an opening for the buttons.
Step #4: Sew Your Button
There are several different types of buttons, but they all generally follow the same steps. With the right side of the fabric facing you, follow these steps:
1. Double-thread your needle.
2. Create a knot at the end of the thread.
3. Anchor your thread by sewing a few small stitches in the marked spot of your fabric.
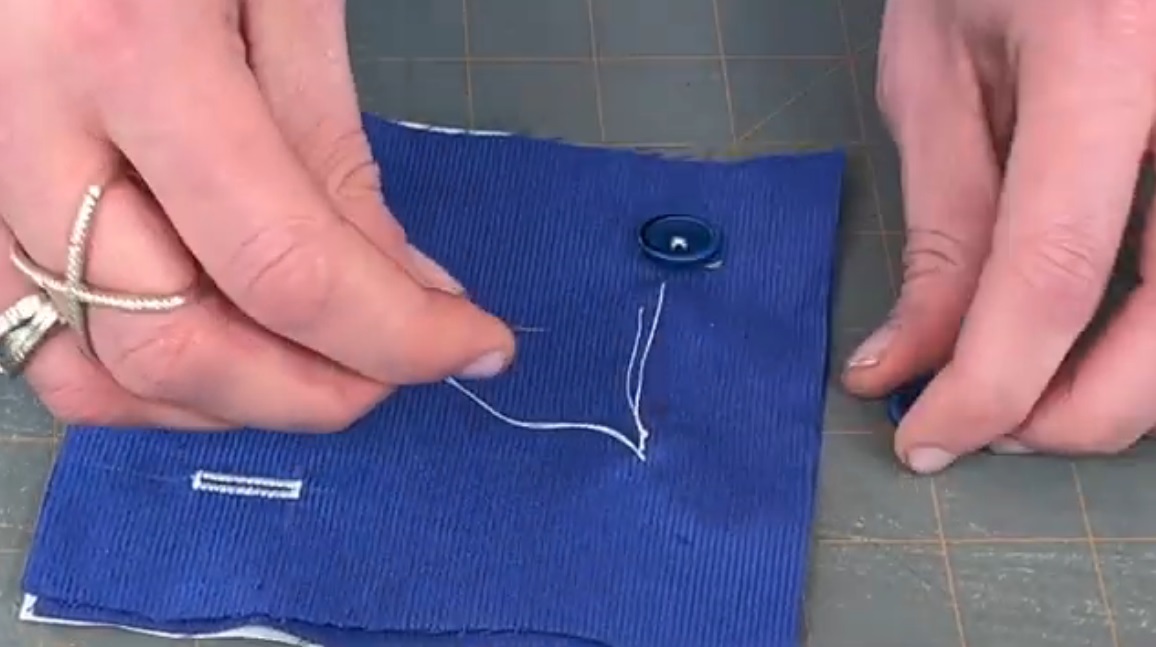
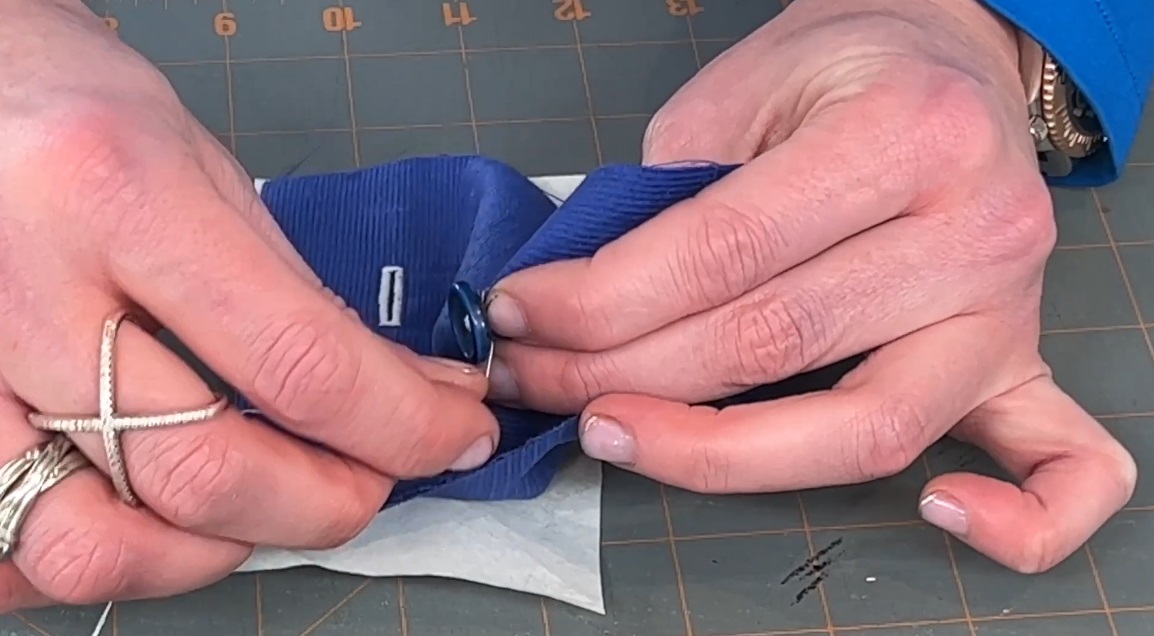
4. Place your button on top of the stitch.
5. Stitch the button in place by sewing in and out of the holes of the button several times until the button is secure:
- If you're sewing a 2-hole button, let the thread go up through one hole and down through the other.
- If you're sewing a 4-hole button, sew in an X-shaped pattern.
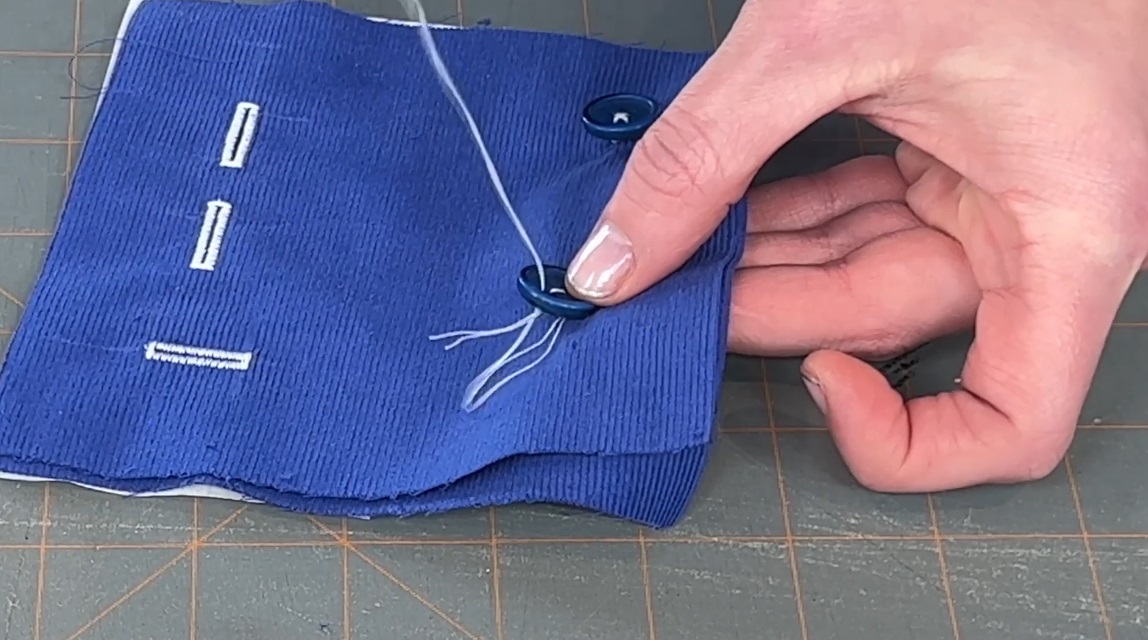
6. Wrap the thread between the button and fabric about 3 times to create a shank.
7. Push the needle to the back side of the fabric, stitch a few times, and finish with a knot.
8. Trim your excess thread for a clean finish.
How to Sew Different Types of Buttons
How to Sew Buttons on Pants
Pants are a bit trickier to sew buttons on compared to other garments because many pants use thicker fabric.
While the steps are the same, you'll usually want to use heavy-duty thread, especially if sewing on thick fabrics like denim.
Most pants already have interfacing on the waistline or zipper area. If your pants don't, you may want to add interfacing before sewing a button for extra strength.
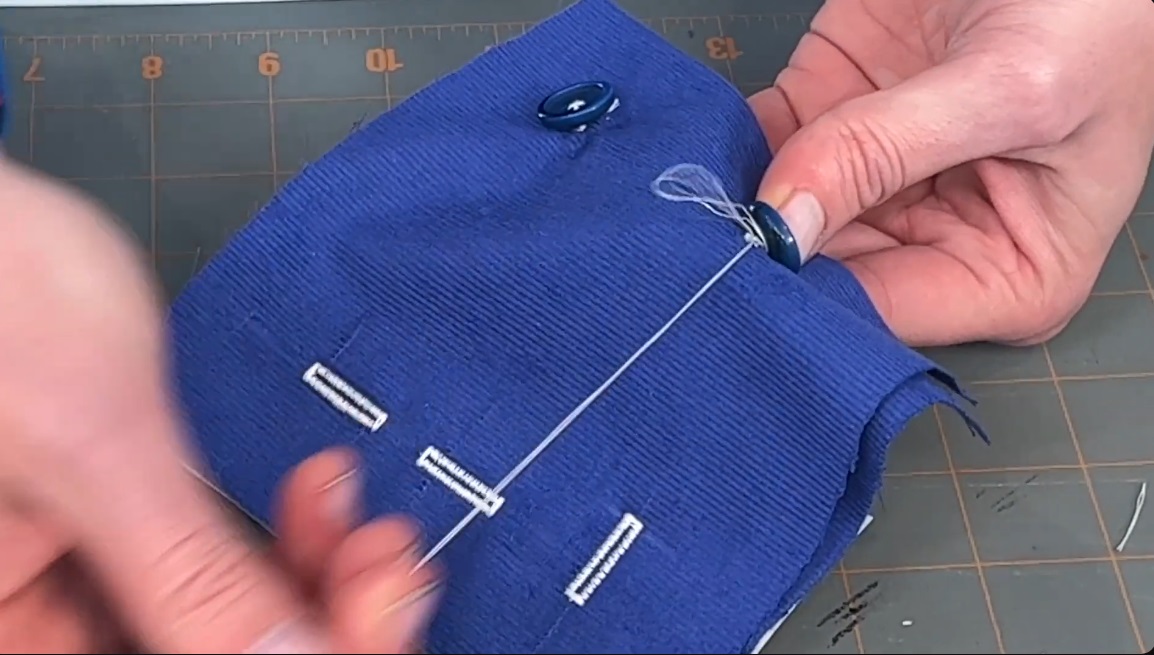
How to Sew Buttons On Button-Down Shirts
The challenge of sewing buttons to button-down shirts is making sure the buttons are evenly spaced.
If your pattern tells you where to place the buttons, then this shouldn't be a problem. If not, then follow these steps:
1. Measure from where your top button will be to the bottom of the shirt
2. Decide how many buttons you want to add
3. Use this formula to determine where to place the buttons: Spacing = Top button to bottom length / (Number of buttons - 1)
For example, if the top button to the bottom measures 21" and you want 7 buttons, you'll want to space the buttons 3.5" apart.
Top button to bottom length / (number of buttons - 1) = Spacing
21 / (7 - 1) = 3.5"
4. Use a measuring tape and mark where your buttons and buttonholes should go
5. Sew in the buttons using the steps above.
Note: while measuring buttons, always measure from the center of the button.
How to Sew Buttons on Polo Shirts
For polo shirts, instead of measuring all the way to the bottom of the shirt, simply measure from the top button to the end of the placket.
Then, use the same formula as with the button-down shirt, but use the placket length instead.
For example, if your placket length is 9" and you want to use 3 buttons, the spacing would be 4.5".
Placket length / (number of buttons - 1) = Spacing
9 / (3 - 1) = 4.5"
How to Sew Shank Buttons
This gives them a classier look because the stitch is hidden underneath the button, rather than going over the button.
To sew a shank button, stitch through the shank 6-8 times. We recommend using a thicker or stronger thread, since weaker threads may make the button unstable.
Aside from that, the steps are the same as with most other buttons.
Ready to Sew In Buttons?
Whether it's for functionality or just style, there's no doubt that buttons can take your garments to the next level.
So don't shy away from adding them in.
Practice with scrap fabric first, then follow the steps above to sew buttons into your clothes.
But don't stop there.
Keep on practicing, keep finding new ways to improve your clothes, and keep becoming a better sewist every day.
If you'd like to learn other techniques to take your clothes from feeling homemade to being clean, professional, and designer-like, then check out our free training below!
 Gallery
 Blog
Blog Events
 Notions & Tools
 Tutorials
 Craftsy
